
WARM HOMEMADE PITA BREAD
IN A CAST IRON SKILLET
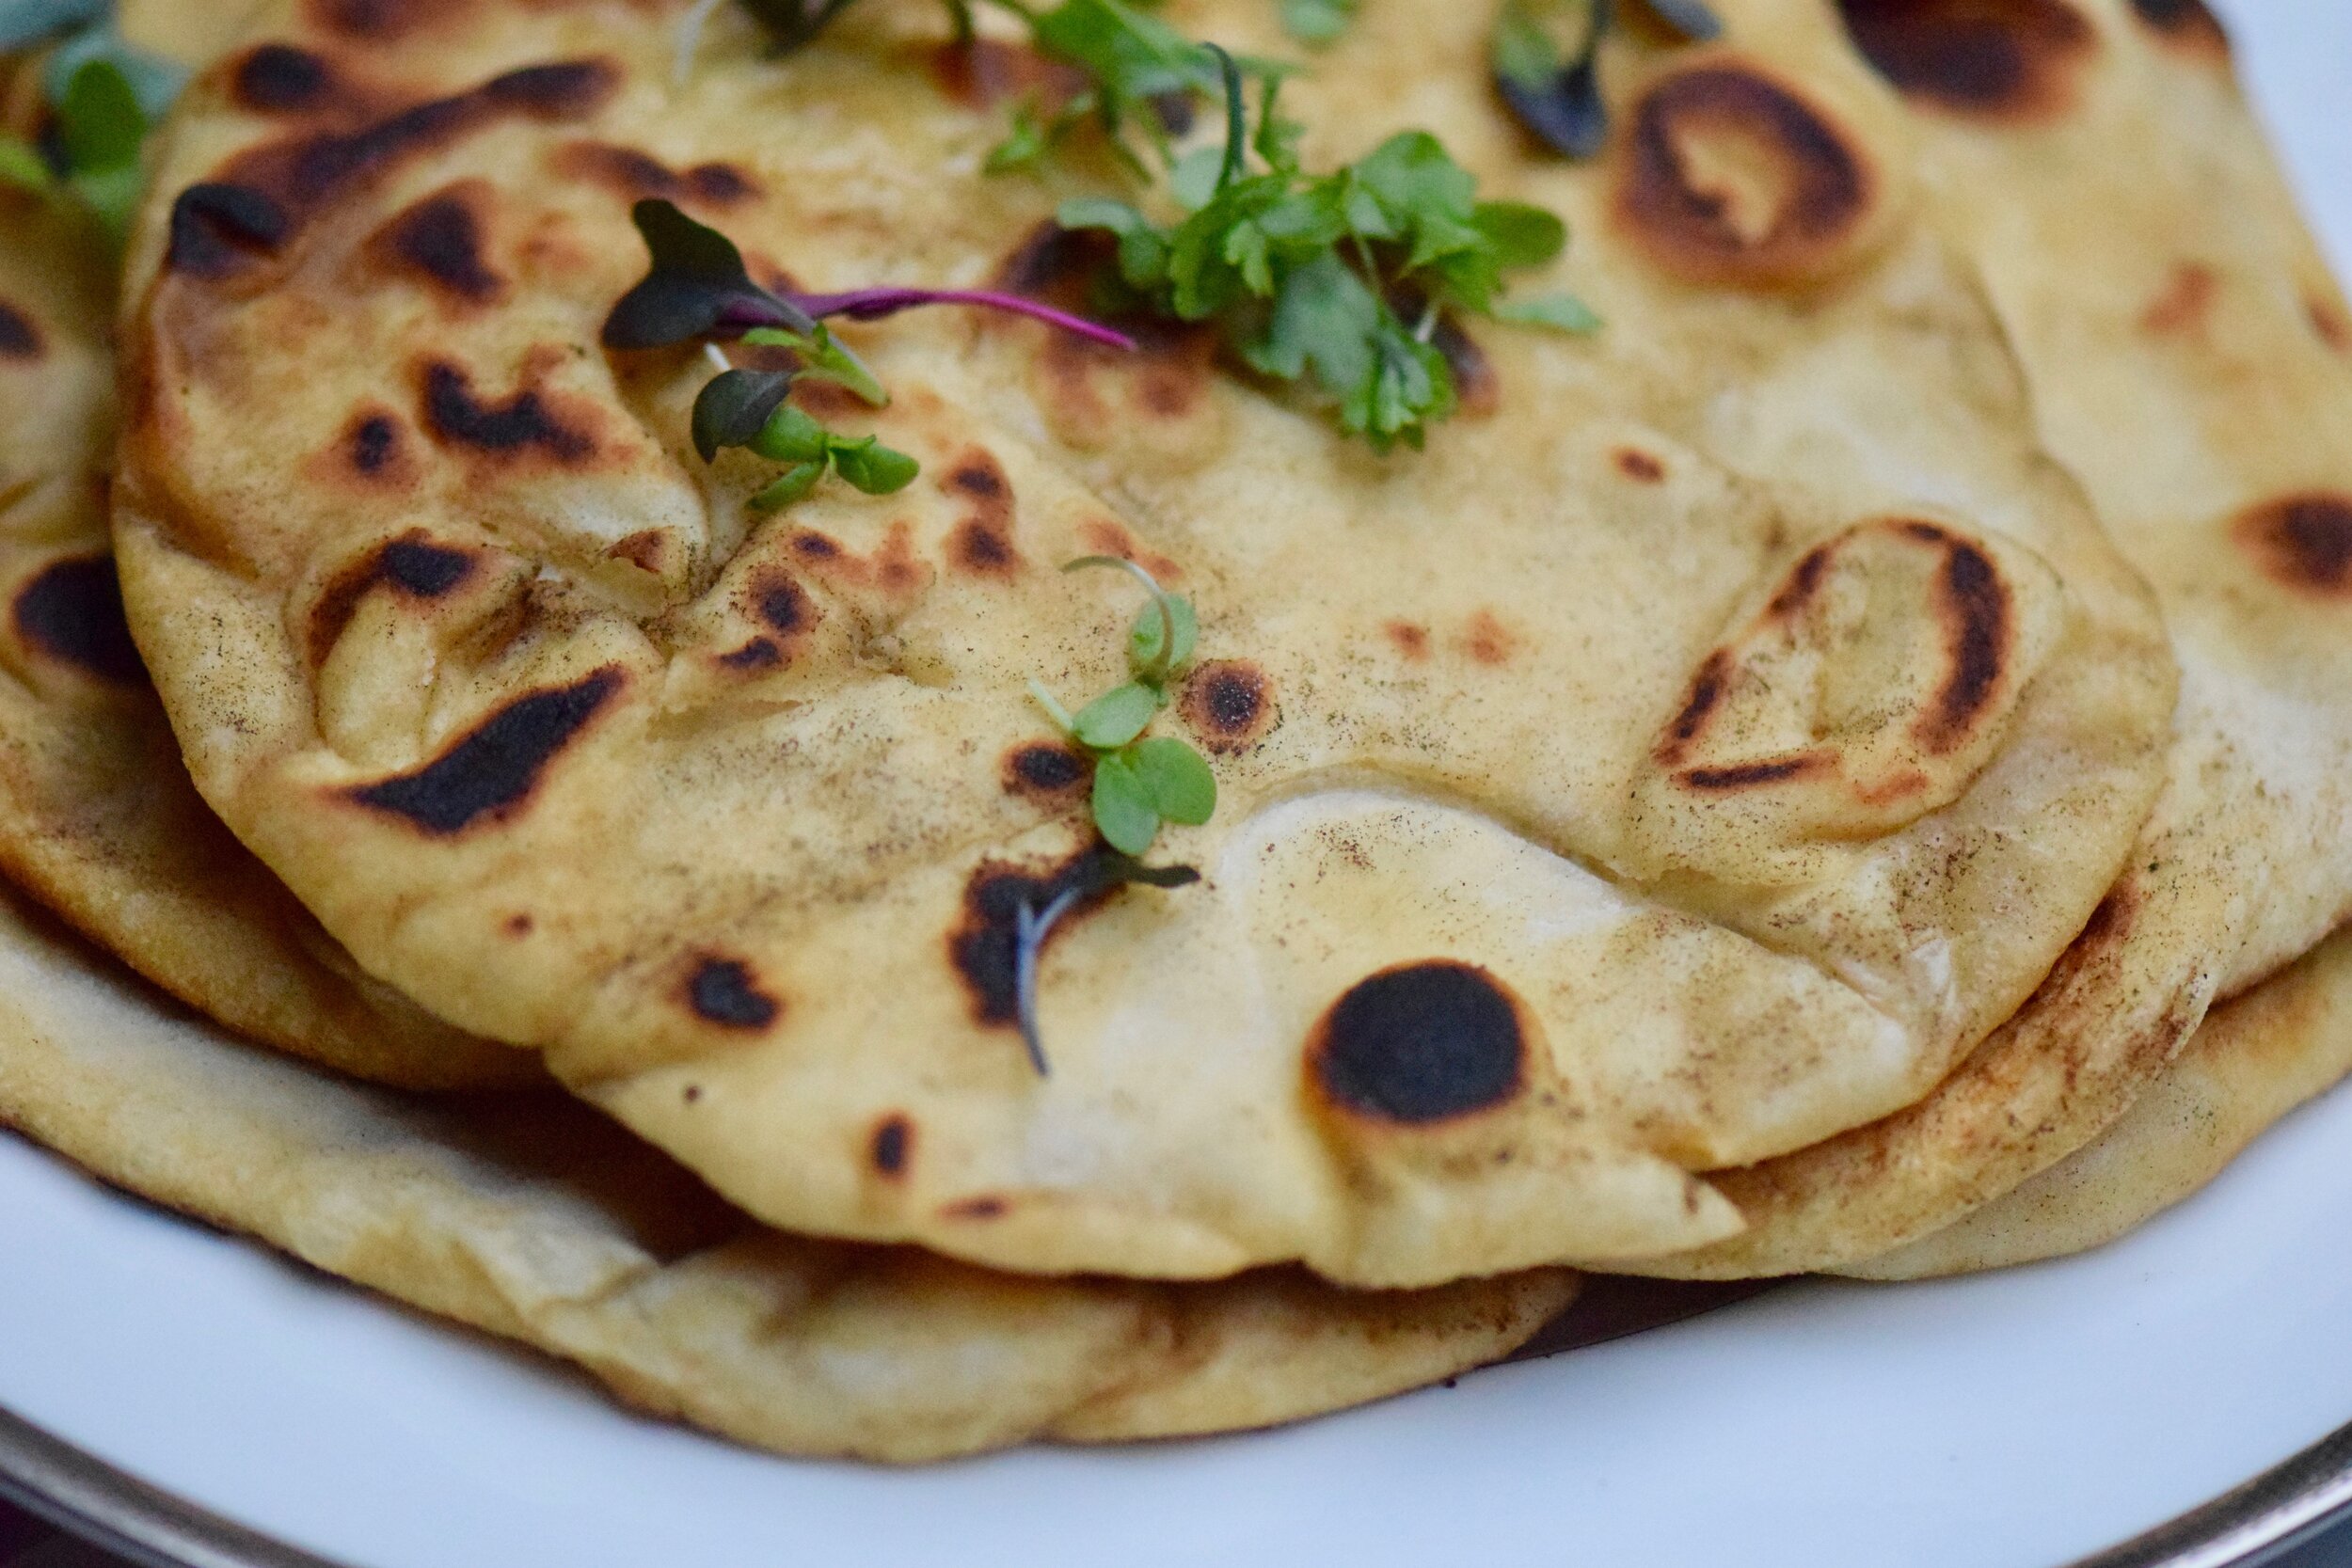
These homemade pitas are such a heartwarming and delicious side dish – and perfect for dinners, or stuffing as sandwiches! They work best if you have a cast iron skillet – but I have included baking info for people who don’t have one!

Don’t be put off by the long Preparation section in this post – homemade pita is surprisingly easy to make, but it does take 1.5-2 hours from start to finish as you have to let it rise for over an hour! I have made sure to be quite detailed in the post, so you can visualize the process – but it is quite simple! Enjoy!

Ingredients
1 cup warm water (not boiling but warm)
2 tsp active dry or instant yeast
3 cups all purpose flour
2 tsp salt
Olive oil
Flake salt
Preparation
Mixing
1. In a mixing bowl, combine the water and yeast. Let this sit for 5 minutes until the yeast fully dissolves.
2. Add 2 and 1/2 cups of the flour (only) to the top of this mixture, then sprinkle with the salt, and drizzle with the olive oil.
3. Stir to combine all of these until the mixture starts to form a rough, sticky dough.

Kneading
4. Get out a large chopping board, and make sure it is secure on your surface.
5. Sprinkle the flour onto your board or work surface, then drop the dough onto it.
6. Knead the dough vigorously for about 5-8 minutes, until you’ve fully smoothed out the dough and made it silky and springy. You can add more flour as necessary (less is more!) to avoid it sticking, but make sure to save some for rolling.
Rising
7. Place your dough in a clean bowl and rub a little olive oil around it, until it’s coated with oil.
8. Cover with cling-film or a damp tea towel and let it rise until it’s double the size – about 1.5 hours (I’ve gotten away with 1 hour, but 2 is better!)
Rolling
9. After it’s risen, divide it into 8 pieces, and flatten each into a small pancake. Using a rolling pin covered in flour, roll each piece into a pita around 8 inches wide (it will be quite thin, around ¼ inch)
10. Sprinkle with a little flour if they are sticking as you roll, and make sure to flip them over a few times through rolling to get a consistent roll out.
Baking
11. You will cook these pitas one at a time, in a cast-iron skillet on the stovetop. Add some olive oil to the skillet, until it’s got a light film (not too much, just to oil the pan, and bring to a Medium-High heat. You want to make sure the oil is hot enough to bubble the bread, so check it by flicking some water into it – if it sizzles immediately, it should be good.
12. Add 1 pita to the oil and bake for 30 seconds to a minute, once you see bubbles starting to form, flip it and cook it for 1-2 minutes on the other side.
13. Once toasted brown circles start to appear, flip it one more time and cook for 30 seconds more. Your pita should puff up and start to become golden. You may need to try this once to see how much oil you need – I sometimes add a tiny bit more once I flip it, to give it that nice golden brown.
14. Remove, keep covered with a towel or foil, and move onto making another pita. Don’t forget to add more oil for each pita – you’re starting from scratch each time!
15. Serve with a drizzle of olive oil and some flake salt
If you do not have a cast iron skillet, you can bake these in the oven :
- Preheat your oven to 450 degrees
- Place a baking tray in the oven to heat fully
- Lightly brush a bit of oil onto each pita
- Add your pitas to the hot baking tray, not close together but as many as will fit, and bake for 3-5 mins.
- They should start to puff up – they are done once they are fully puffed up - but they won’t develop the big golden circles.. still delicious though!
